In this
part of blog, we are now going to create our first app using Microsoft
PowerApps service that will be consuming data from a Dynamics 365 for Operations for which we have already created our
data connection in Part 1.
Go to
Apps -> Create an app
You
will see there are multiple options available to start creating your App. Here
you can select the layout template and data source for your app or you can
choose blank app template and build it all from scratch.
PowerApps generates three-screen
app BrowseScreen1, DetailScreen1 and EditScreen1 based on the records.
You can now customize the
screens by modifying or adding more controls or change the data source as well.
Change the Data source:
Modify the layout:
Modify the text field:
Sort the records:
Controls: You can use variety of Controls in your
applications
Preview the App:
You can preview the app
by clicking the run button.
When you are done
developing your PowerApp, click File and then
click Save
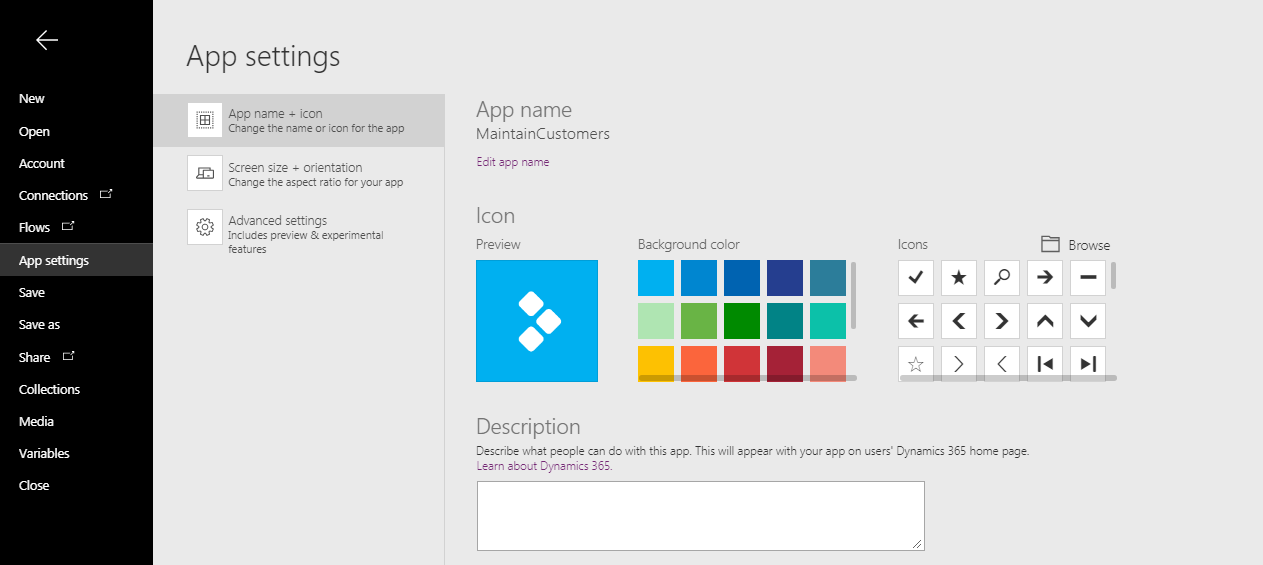
Go to App
settings to add description or configure elements.
You can now see your newly created app in the App menu.