In this
part of blog, we are now going to create our first app using Microsoft
PowerApps service that will be consuming data from a Dynamics 365 for Operations for which we have already created our
data connection in Part 1.
Go to
Apps -> Create an app

You
will see there are multiple options available to start creating your App. Here
you can select the layout template and data source for your app or you can
choose blank app template and build it all from scratch.


You can now customize the screens by modifying or adding more controls or change the data source as well.
Change the Data source:

Modify the layout:

Modify the text field:

Sort the records:
Controls: You can use variety of Controls in your
applications

Preview the App:
You can preview the app
by clicking the run button.


When you are done
developing your PowerApp, click File and then
click Save

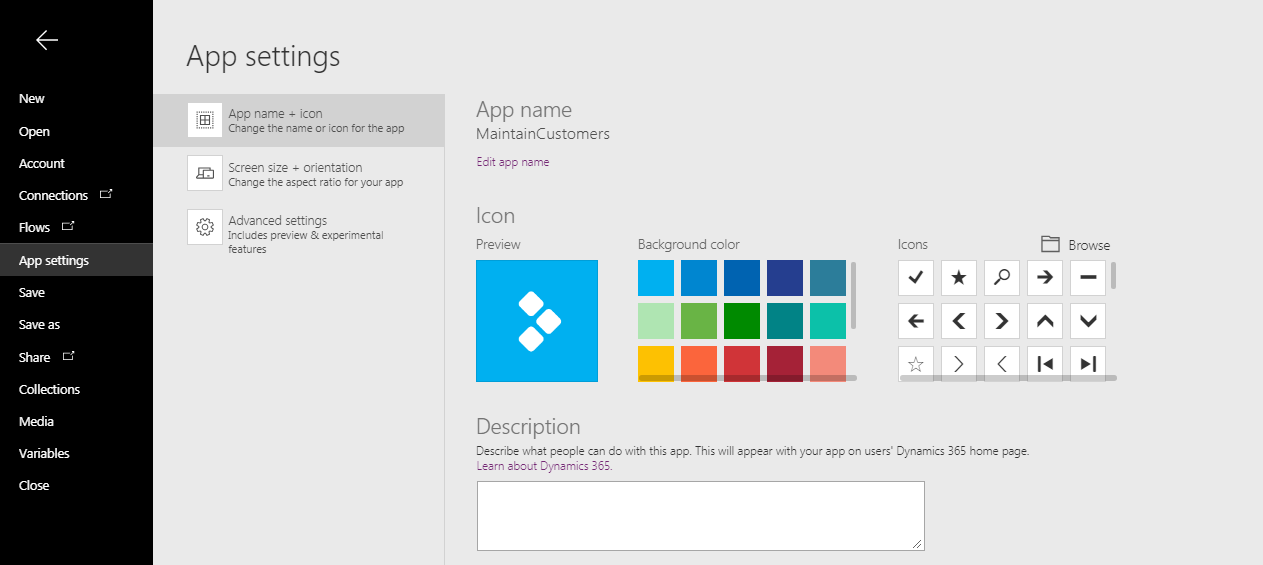
Go to App
settings to add description or configure elements.
You can now see your newly created app in the App menu.

Learn how to share PowerApps in the next blog: How to share PowerApps
Microsoft PowerApps: How to create an App in PowerApps (Part 2)
ReplyDeleteVery interesting post....
About powerapps (nice explanation...)
5 Best Advantages of Microsoft PowerApps for Businesses
professional powerapps developer
ReplyDeleteHey Nice Blog!!! Thank you for sharing information. building power apps
Great post! Very informative and clearly explained. Thanks for sharing such valuable content. If anyone is looking to upskill in Microsoft Power Apps, we offer comprehensive Power Apps Training in Hyderabad with hands-on experience. Feel free to check it out!
ReplyDelete